When preparing for a roof installation, it’s crucial for every Long Island homeowner to have a clear understanding of what the process involves. Whether you are building a new home or replacing your old roof, ensuring that you follow a comprehensive roof installation checklist is key to achieving a successful outcome. This checklist will help guide you through the steps necessary to ensure that your roof is installed correctly, offering durability, functionality, and a high level of protection against the region’s unpredictable weather. The importance of a good roof installation cannot be overstated, as it plays a central role in the comfort, energy efficiency, and safety of your home.
Initial Planning and Research
Before any physical work begins, the planning phase is essential. The first step in your roof installation checklist is to research the materials that are best suited for your home’s needs. Long Island’s coastal climate, with its humidity, salt air, and occasional severe storms, demands durable materials that can withstand the elements. Asphalt shingles are one of the most common choices, but metal roofing, clay tiles, and wood shakes may also be viable options, depending on your home’s style and budget.
The next important consideration is choosing a licensed and reputable roofing contractor. It’s vital to select a contractor who is experienced with roof installations on Long Island and is familiar with local building codes. Verify their credentials, look for customer reviews or testimonials, and ask for examples of previous work. This will help ensure that the job is done right the first time, preventing costly mistakes down the road.
Permits and Local Building Codes
Once you’ve selected your roofing contractor and materials, the next step in your roof installation checklist is securing the proper permits. In Long Island, homeowners are required to obtain a building permit for most roof installations or replacements. Your contractor will typically assist you with this process, but it’s still a good idea to check with your local municipal office to make sure all the required paperwork is in order.
Local building codes dictate many aspects of roof installation, from the materials that can be used to the structure of the roof itself. These codes are designed to ensure the safety of your home and the durability of the roof in the face of storms, high winds, and heavy snow loads. Your contractor should be well-versed in these codes, ensuring that the roof is installed in compliance with all regulations.
Roof Inspection and Removal of Old Roof
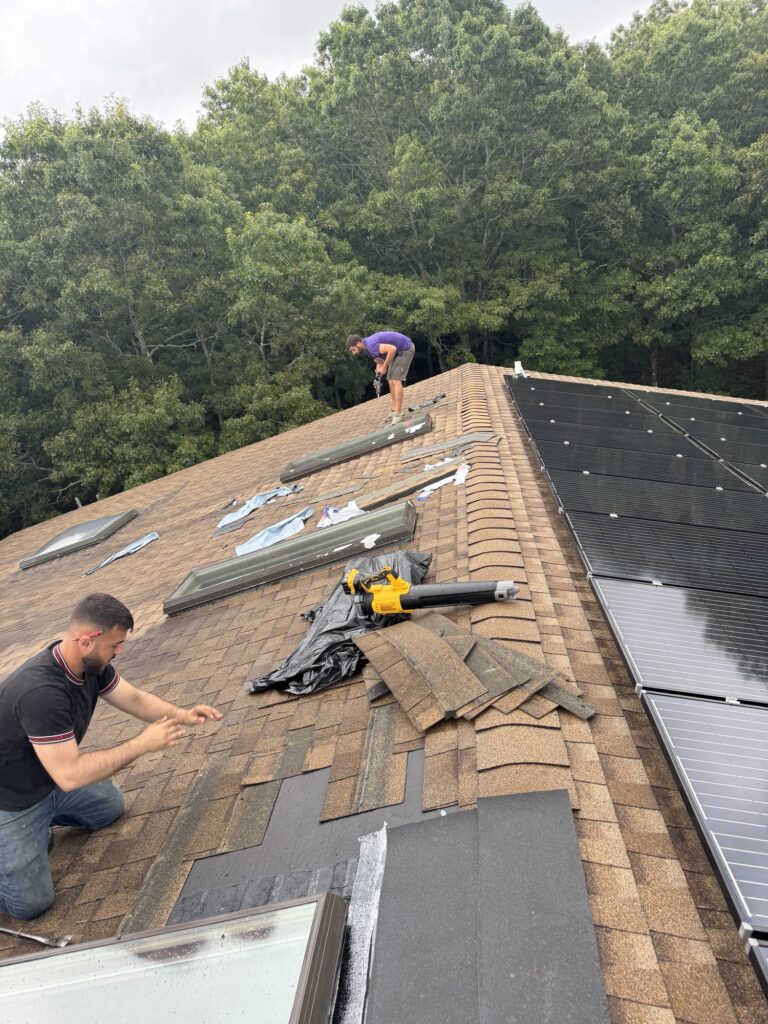
Once all the preliminary steps are completed, the roof installation process can begin in earnest. The first thing your contractor will do is inspect the existing roof, if applicable. If you are replacing an old roof, a thorough inspection will help identify any underlying issues, such as water damage, mold, or structural weaknesses. These problems need to be addressed before the new roof can be installed properly.
In most cases, the old roof will need to be removed entirely. This may involve stripping away multiple layers of shingles and underlayment. During the removal process, your contractor should take care to protect your landscaping and other parts of your home from debris. It’s important to ensure that the disposal of the old roofing materials is done in an environmentally friendly manner.
Installing the Roof Decking and Underlayment
Once the old roof is removed, the next step in the roof installation checklist is installing the new roof decking. This is the wooden base layer that forms the foundation of the roof. If your home is older, it’s possible that the decking has deteriorated over time, and it may need to be replaced. This is a critical step because the roof decking provides the structural integrity that supports the rest of the roof.
After the decking is in place, the contractor will install the underlayment, which is a protective layer that helps prevent water from seeping into the roof. Felt paper or synthetic underlayment are common choices, providing an extra layer of protection between the shingles and the decking. This step is essential for ensuring the roof’s longevity, as it helps prevent moisture buildup that can lead to mold and rot.
Shingle or Roofing Material Installation
With the decking and underlayment in place, it’s time to install the roofing materials. This is the most visible part of the process, and it’s essential to ensure that the materials are applied properly for both aesthetic and functional reasons. If you’ve chosen asphalt shingles, they will be laid in overlapping rows to ensure that rainwater flows off the roof smoothly. Each row should be secured with nails or staples to prevent wind from lifting the shingles.
For metal roofing, installation is slightly different. Metal panels are typically interlocked and fastened with screws. Depending on the material, the installation may involve cutting and bending the panels to fit the roof’s shape and pitch. It’s essential that the roofing material is installed correctly, with no gaps or spaces that could allow water to infiltrate the home.
Flashing and Ventilation
An often overlooked aspect of roof installation is the installation of flashing and proper ventilation. Flashing is installed around roof features such as chimneys, vents, and skylights to prevent water from leaking into these vulnerable areas. It’s critical that the flashing is installed properly, as leaks around these areas are some of the most common causes of roof damage.
Proper ventilation is equally important in ensuring the longevity and performance of your roof. Without adequate ventilation, heat and moisture can build up in the attic, leading to a host of problems, including the deterioration of the roof materials and increased energy costs. Your roofing contractor should install ridge vents, soffit vents, or other forms of ventilation to keep the attic properly aerated.
Final Inspections and Clean-Up
Once the roofing materials are installed, your contractor should perform a final inspection to ensure that everything is up to code and free from defects. This includes checking the alignment of the shingles, verifying that flashing is properly installed, and ensuring that the roof is fully sealed against potential leaks. A professional roofer will also check for any damage to the roof structure or surrounding areas during this inspection.
After the inspection, the contractor should clean up the work site, removing any leftover materials, nails, and debris. A magnet tool is often used to collect stray nails from the yard to avoid any injuries or damage to vehicles and landscaping. It’s important to ensure that the work site is left clean and safe.
Warranty and Future Maintenance
Finally, every Long Island homeowner should be aware of the warranty on their new roof installation. Most reputable roofing contractors offer warranties that cover both the materials and labor. It’s essential to understand the terms of this warranty, including the duration of coverage and what is specifically covered under the warranty. A strong warranty will give you peace of mind knowing that your roof is protected in case of defects or issues that arise in the future.
In addition to the warranty, you should also schedule regular maintenance checks for your roof. Although roofing materials are designed to be durable, they can still be affected by the elements over time. Periodic inspections and maintenance can help extend the life of your roof and ensure that small issues are addressed before they become major problems.
Conclusion: Why Roof Installation Matters
The roof of your home is one of its most important components, offering protection from the elements and contributing to the overall structural integrity of the building. By following a roof installation checklist and working with a professional roofing contractor, you can ensure that your new roof will provide lasting protection for your family and home. If you’re ready to begin your roof installation project or need assistance with roof repairs in Long Island, don’t hesitate to contact East End Roofing today.
For reliable roof installation services, call us at (631) 855-2006 or email us at in**@***********NY.com. Let us help you ensure that your roof is installed correctly, providing you with peace of mind for years to come.